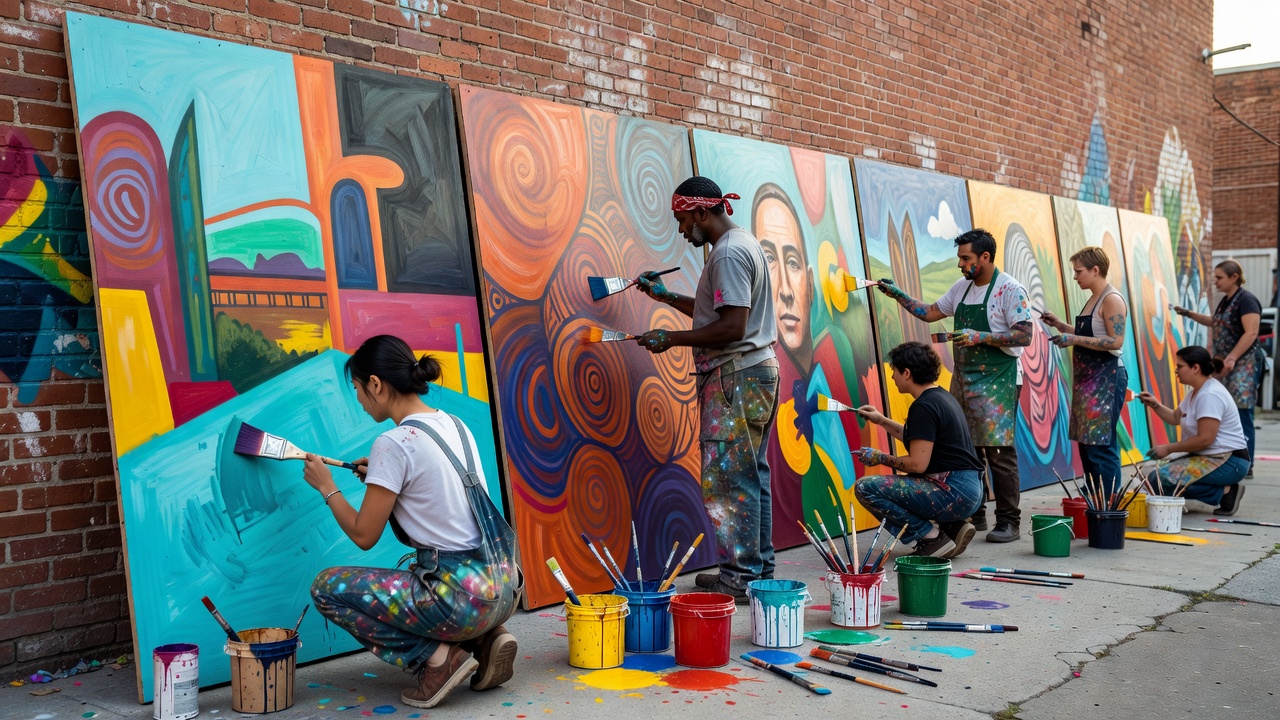
Begin with the wall’s responsibilities
Before asking people for drawings, confirm who owns the surface and who can authorize a change. Obtain written permission covering preparation, painting, display and removal. A tenant’s enthusiasm does not necessarily equal the owner’s consent. For a street-facing project, ask the relevant local authority whether signage, heritage, highway or planning rules apply. These requirements vary by place; a workshop checklist cannot replace a site-specific decision.
Inspect the surface with someone qualified for the task. Flaking coatings, damp, unstable render and unknown older paint are reasons to pause, not simply buy stronger primer. Do not sand or scrape suspect coatings without appropriate assessment. Where a permanent wall is unsuitable, consider freestanding boards or removable panels, subject to safe fixing and venue approval.
Build a visual language together
Start with a question that has room for several answers: what helps us feel welcome here, or what should this place remember? Invite drawing, spoken description and written words. People should not have to demonstrate drawing confidence to influence the mural. Gather ideas individually before opening a group discussion, so the first confident speaker does not define the whole direction.
Then agree a small visual vocabulary. A limited palette, repeated shape and common edge treatment can connect different contributions without making them identical. Test combinations on paper. Ask each person which element they need to keep and which they are willing to adapt. Record how final choices are made, including what happens when preferences conflict. A facilitator can support that discussion without becoming the unannounced art director.
Prototype the meeting points
The most revealing test is often where two contributions touch. Make a sample showing a border, overlap or transition. Can different painting styles coexist? Does a caption remain legible at the intended viewing distance? Does the chosen paint cover the prepared surface? Test drying and compatibility using manufacturer instructions rather than assuming that all water-based products work together.
Make a simple scaled plan and identify tasks that depend on earlier work. Background coats must be ready before detailed marks; some masking needs removal within a particular window. Leave flexible areas for late arrivals or contributors who need more time. Avoid a schedule that makes the least confident participants work on the most rushed section.
Design participation, not just paint stations
Offer seated and standing work positions where possible, with clear routes between them. Large panels can sometimes be painted horizontally before installation. Ask contributors about useful adjustments without requiring a public explanation of a disability. Provide a quiet break area, readable instructions and a demonstration that people can revisit.
Divide responsibility across paint mixing, surface preparation, image making, tool care, caption writing and documentation. Let people change roles. Read product labels and safety data sheets, plan ventilation and choose tools appropriate to the setting. Work at height, hazardous coatings and public-site control require competent planning; a community art session is not a substitute for technical training.
Agree credits before the final photograph
Ask whether contributors want individual names, a collective name or no public credit. Obtain separate permission for identifiable photographs and publication. Someone may happily paint while declining to appear online. Where children participate, follow relevant safeguarding procedures and obtain the necessary permissions while also respecting the child’s own wishes.
Do not assume that permission to display a mural also permits every future reproduction or commercial use. Write down the intended uses of images and the work itself. Discuss how changes, repairs or eventual removal will be communicated. If rights are complex or the commission is substantial, seek appropriate legal advice before making promises.
Finish with a care handover
Keep a record of paint products, preparation methods, sample colors and any approved protective finish. Ask the site owner who will inspect the work and report damage. Not every mural needs varnish, and an incompatible coating can create problems. Agree the maintenance approach with the relevant product guidance and surface expertise.
Close with a short reflection: which decisions genuinely changed because of the group? Which jobs were less visible? Preserve those answers alongside the technical record. The next collective project should inherit both the material knowledge and a clearer understanding of how authorship was shared.